How to add Tailwind v2 to a Vue.js 3 project
Last updated
Antonio Ufano
This is a super straight to the point guide about how to setup a Vue 3 project with the recently released TailwindCSS v2. Let's get to it!
You can clone this repo and use it as a starting point for your next project.
Install the Vue.js CLI running npm i -g @vue/cli or upgrade it to the latest version running npm upgrade -g @vue/cli. To check the version you have installed, run vue --version.
To initialise a Vue v3 project, make sure your Vue CLI version is 4.x and run vue create my-project. Once finished, if you run npm run serve your project will be served on https://localhost:8080.
To add TailwindCSS v2, run npm install tailwindcss@npm:@tailwindcss/postcss7-compat postcss@^7 autoprefixer@^9. The weird versioning here is because the VueCLI v4.5.9 has not yet migrated to PostCSS v8, which is required by the default TailwindCSS v2, so they have released a parallel version in /postcss7-compat. PostCSS and Autoprefixer are Tailwind's peer dependencies.
Important: Once VueCLI is upgraded, you'll be able to use the defaul installs running
npm i tailwindcss postcss autoprefixer
Once installed, create a file named postcss.config.js in your project root folder and include the following:
module.exports = {
  plugins: {
    tailwindcss: {},
    autoprefixer: {},
  },
}
Next, run npx tailwindcss init which will create a file named tailwind.config.js in your application root folder. You can use this file to configure fonts, colors etc... You can read more about Tailwind config in this section of the docs.
One of the most useful things I've learnt about Tailwind is the hability to create component classes for buttons, labels, notifications etc.. basically small components that are used all around your application. For those cases, the best thing to do is create a component class using the @apply directive. Check out this section of the docs for more info.
To take advantage of that (and SASS 😉) install sass and sass-loader running npm i -D sass sass-loader. Then, create a file in src/assets/css/styles.scss and include the following code:
// Imports TailwindCSS
@tailwind base;
@tailwind components;
@tailwind utilities;

// Add you custom styles here
// or use this file to create Tailwind components using the
// @apply directive */
@layer components {
  .btn-green {
    @apply p-2 border text-white bg-green-500;
  }
}
Note: having our own clases inside the components layer will make sure that they are compiled in the right place.
Now add some TailwindCSS utility classes in App.vue to test that everything is working as expected:
<template>
  <!-- class to center image -->
  <img class="mx-auto" alt="Vue logo" src="./assets/logo.png" />
  <HelloWorld msg="Welcome to Your Vue.js v3 + TailwindCSS v2 App" />
  <p class="text-xl text-blue-500 font-bold my-4">This is a blue text</p>
  <button class="btn-green">Action</button>
</template>
You should see something like this:
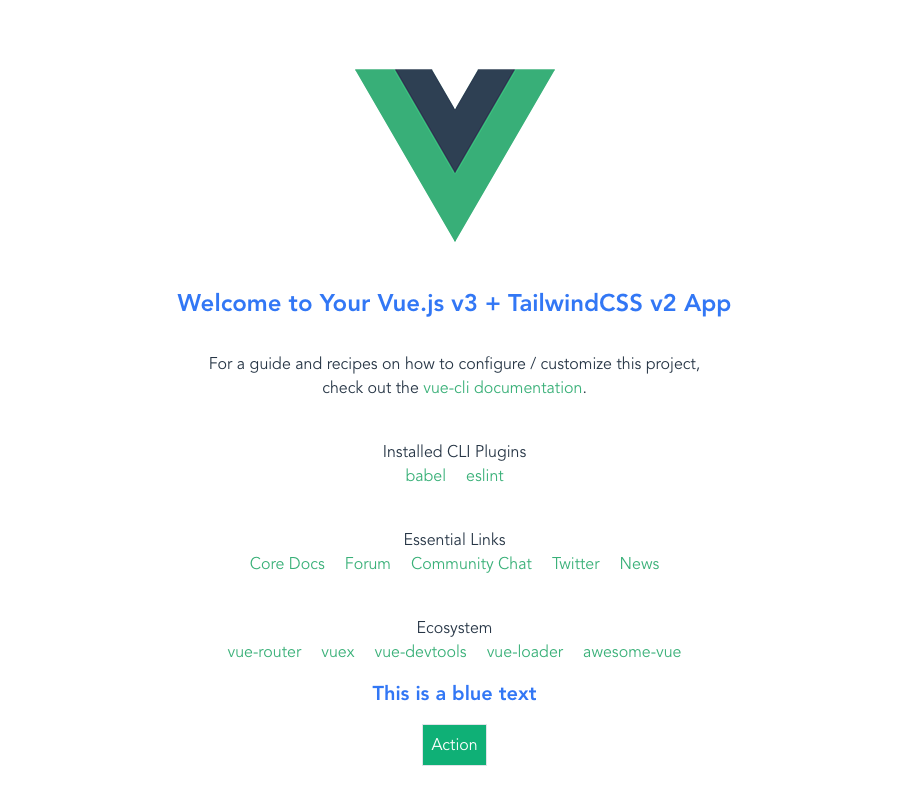
As you can see, we're using some TailwindCSS classes directly in a paragraph and the class we defined in the styles.scss file in a button, which in its own, uses a few Tailwind classes.
Run again npm run serve to see the results.
You're good to go.
Important customization for Production
To purge the unused classes and reduce your application bundle size significantlly, configure the purge attribute of the tailwind.config.js file:
module.exports = {
  purge: ['./src/**/*.html', './src/**/*.vue'],
  darkMode: false, // or 'media' or 'class'
  theme: {
    extend: {},
  },
  variants: {
    extend: {},
  },
  plugins: [],
}
Check out the documentation for more optimizations for production.
And remember that you can use this project repo as a starting point for your next project ✌️
Happy coding!
If you enjoyed this article consider sharing it on social media or buying me a coffee ✌️
Oh! and don't forget to follow me on Twitter where I share tons of dev tips 🤙
Other articles that might help you
my projects
Apart from writing articles in this blog, I spent most of my time working on my personal projects.
theLIFEBOARD.app
theLIFEBOARD is a weekly planner that helps people achieve their goals, create new habits and avoid burnout. It encourages you to plan and review each week so you can easily identify ways to improve your productivity while keeping track of your progress.
Sign upSolidityTips.com
I'm very interested in blockchain, smart contracts and all the possiblilities chains like Ethereum can bring to the web. SolidityTips is a blog in which I share everything I learn about Solidity and Web3 development.
Check it out if you want to learn SolidityQuicktalks.io
Quicktalks is a place where indie hackers, makers, creators and entrepreneurs share their knowledge, ideas, lessons learned, failures and tactics they use to build successfull online products and businesses. It'll contain recorded short interviews with indie makers.
Message me to be part of it